from koo design studio newsletter – vol. 37(J) 04/06/2021
MAKING A VIDEO LIKE A PRO!

THIS IS 3RD OF THE SERIES
Some of you might think to make your product/service promotion video by yourself. It’s good idea and fun so let’s do it.
In this blog, I’d like to shares some professional tips for you. I hope that will help you to understand the production process and you succeed in your video production.
This is a series of 4 process tips:
- Planning (pre-production)
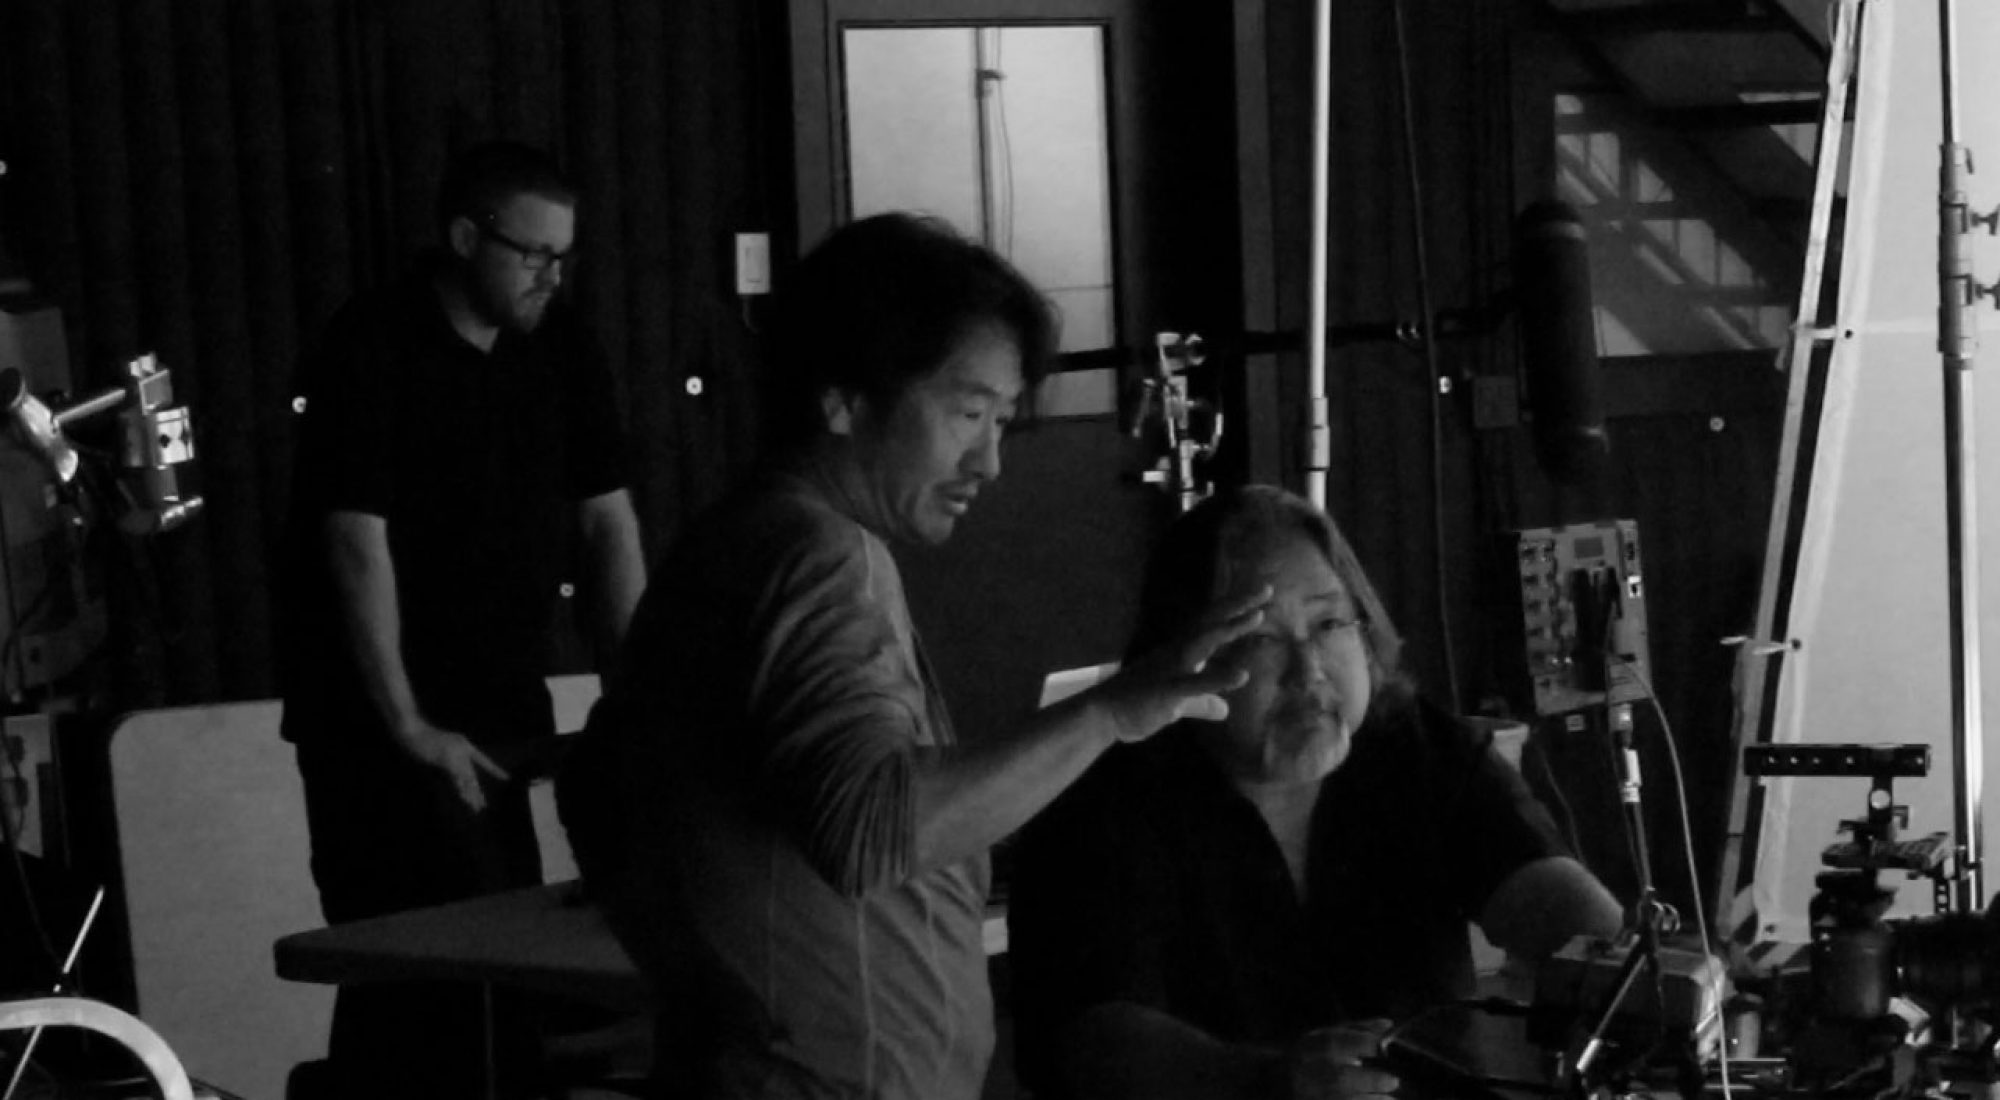
- Shooting (production) [This issue]
- Editing (post-production)
- Analysis (publish to YouTube and analyze the viewer)
Editing (post-production)
I hope you’ve enjoyed shooting! It’s fun, isn’t it? Now all footages need to be transferred from the SD cards (or smartphones) to your computer.
Software
Here is a list of editing softwares:
- Adobe Premiere Rush (free with some limit) : https://www.adobe.com/products/premiere-rush.html
- Adobe Premiere Pro : https://www.adobe.com/products/premiere.html
- Apple iMovie (free, MacOS only) : https://www.apple.com/imovie/
- Apple Final Cut Pro: https://www.apple.com/final-cut-pro/
- Lightworks (free) : https://www.lwks.com
- DaVinci Resolve17 (free) : https://www.blackmagicdesign.com/uk/products/davinciresolve/
- Shotcut (free open source) : https://shotcut.org
Premiere Pro, Final Cut Pro, Avid etc.. are fully functioned and made for professionals. I personally like “SHOTCUT” which available for all platforms (Windows, Mac and linux). If you are a Mac user, iMovie is also good choice for sure.
All editing software’s functions are basically pretty much the same, it’s consisted by “Bin (where you footages are stored)”, “Track editor”, “Effect control”, “Main View with audio level”
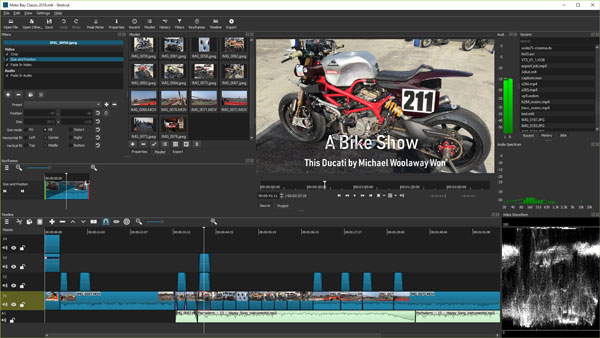
- Bin :It stores a footage reference (The actual data are where you placed in the computer, it’s just a references/shortcuts), so you can access a desired footage easily.
- Track Editor : Where you bring a footage from bin to edit. It’s layered tracks. (for video, title, sound/ music, transition/effects), The higher the track, the higher the visual priority.
- Effect control : You can control scaling and moving a selected footage, add and control audio effects. Also you can control a effect which you’ve added to the track (such as fade in/out, transition, overwrap transition, color correction, footage transparency, sound volume etc…)
- Main View + Audio level meter : You can monitor the track editor’s visual and audio.
Let’s Start Editing!
Tell a story
Editing is telling a story. In some cases, it may be more effective to discard the original script, review all the footage you shot, and reconstruct a new story from it.
- First of all, I usually watch and check each shot as many times as possible. It is very important to memorize what you have.
- Then trim each footage to keep only the sections you need.
- After the trimming, roughly place those footage according to the script (if you have two or three alternative takes, arrange these shots vertically) to see if the story works as a video as when you wrote the script. Not pay too much attention to the details at this point, pay attention to telling the story. Reorder the footage or replace it with an alternative take until it works.
- Finally tune up all footages (trim more or less, add transitional effects, color collects, adjust audio levels, remove/add noises etc..)
The flow of telling story is very important, so I add a temporary music and follows the rhythm to edit (find a genre of music, rock, jazz, classical etc.. to fit your story). You can find a good royalty-free music online for free or a little of money. (Youtube offers some too)
This is an example of how I edit to show a function:
Color correction
It’s good idea to correct the color for all footages once you done the storytelling. Even you shot at only one location where the light setting is the same, the color can be slightly different (especially if you move the camera location). By correcting the color, you can emphasize the subject vividly and alive.
Pay attention to the white and black area for the balance, find a whitest spot in a footage and move the mouse point over there to see RGB balance to find out what color higher then others (R: 244, G 200, B 198 = too much red), then bring the red channel down to make even it even. Do the same as black spot too. This time all value can be close to 0,0,0. If RGB is R255 G255 B255 in larger area, it’s most likely the image is too bright (burned out), so make it slightly darker to adjust a good over all color balance and contrast. Once you did one footage, you can apply the same color correction to the similar footages.
Title/subtitle
Adding a title in the opening will help viewers. Good to add some subtitles to explain and/or emphasize features to the viewer but not too much or too long, always keep it short and simple. Also for the caption, if you need adding some language options and if you’ll post to Youtube. Maybe it’s good to use youtube’s caption system rather hardcode to the video with the editing software. I’ll explain how-to at the next post.
Music and sound effects
A music helps to keep a good tempo for the flow. If you already have a good music, add to the sound track right after your 1st rough cut. A sound effect is also helps the scene and drama very effectively. Keep a good balance with voices and music.
Patience and rhythm are your best friends when it comes to edit
2. SFX
I want to mention just a little about a special effect (SFX, some people call it a visual effect, VFX)
Even you don’t have a SFX specific software like Adobe After Effects, Nuke, Fusion etc.. you still can add some cool effects to your video. For example like making a digital scrapbook. You can masking out your footage only you need very roughly and place on top of an image like a paper textured. Then use a page-curl transition to the next cut.
Explore possibility with something you’ve already familiar with in your daily life, then adapt the idea into the digital creation. Idea comes always first and technology follows.
Today’s LIST OF TOOLS
| – Video editing software |
| – music (royalty-free) |
Editing (post-production) is always my favorite section of film making!
Of course!! If you need a professional consultation or production,
Please contact me anytime!!
I’ll give you more detailed advice for your successful production.
TO BE CONTINUED >>>